
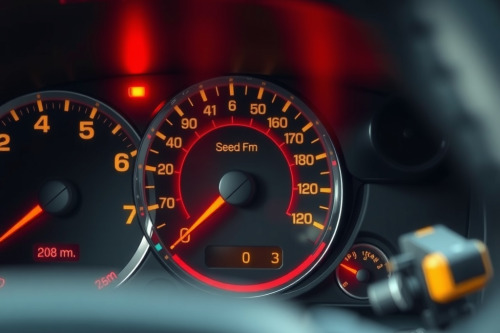
A glowing amber dashboard indicator creates instant dread, but panicking solves nothing. During my 15 years servicing modern drivetrains, I've seen drivers waste hundreds of dollars swapping random sensors before running a single basic electrical check. Knowing how to fix a check engine light starts with methodical testing rather than guesswork. If your light is steady, your powertrain control module has logged a fault; if it flashes, raw fuel is destroying your exhaust system right now.
Immediate Triage: Solid vs. Flashing Warning Lights
You must find the urgency of the fault immediately. A solid light indicates a non-critical emissions or performance anomaly that permits driving directly to your garage. A flashing light signifies a severe misfire dumping unburned fuel into the exhaust path. When this happens, exhaust temperatures spike above 850°C and ruin expensive components within 10 km. Pull over immediately, shut the engine off, and arrange a flatbed tow if that amber bulb is pulsing.
How to Fix a Check Engine Light by Pulling Diagnostic Codes
Never buy replacement components based on a generic description printed by a parts store counter clerk. Modern engine computers store specific alpha-numeric identifiers that point directly to circuit conditions.
Hooking up the scan tool
Locate the 16-pin diagnostic connector beneath the driver-side dashboard. Plug in a scanner capable of live parameter data retrieval, turn the ignition to the 'ON' position without starting the engine, and read OBD2 diagnostic trouble codes. Document every logged entry, distinguishing between primary codes and secondary cascading flags.
Distinguishing pending vs active faults
Active codes have triggered the illuminated light after failing across consecutive drive cycles. Pending codes represent sporadic circuit faults or intermittent misfires that have not yet crossed the failure threshold. Always target the active codes first. If you observe random cylinder misfires paired with lean codes like P0171, look for shared vacuum leaks before suspecting individual ignition coils.
Addressing Common Faults: Fuel, Air, and Ignition Systems
Field data confirms over 70% of solid engine lights stem from basic sensor drift, simple air leaks, or evaporative failures. Systematically eliminate these root issues before condemning major mechanical assemblies.
Inspecting a loose or damaged gas cap
An evaporative emission control leak often traces directly to the filler neck. Inspect the rubber seal on the cap for hardening, dry rot, or cracks. A loose or damaged gas cap prevents the fuel tank from holding a 0.5 psi vacuum during self-tests. Tighten the cap until it clicks 3 times, clean any corrosion off the steel filler lip, and re-evaluate the circuit.
How to clean mass air flow sensor circuits
Contaminated hot-wire elements report incorrect intake air volume, forcing erratic air-fuel mixtures. Remove the intake tube, unbolt the housing, and use dedicated solvent spray to clean mass air flow sensor wires. Never touch the platinum wire with bare fingers, tools, or cotton swabs. Allow the solvent to air dry completely for 15 minutes before reinstalling the assembly.
Diagnosing when to replace faulty oxygen sensor components
Upstream oxygen sensors cycle rapidly between 0.1V and 0.9V when operational. Back-probe the signal wire using a digital multimeter to verify this voltage swing at 2,000 RPM. A sluggish signal staying pinned near 0.45V indicates physical contamination or internal heater failure. When diagnostic readings confirm dead heater circuits or zero voltage variance, replace faulty oxygen sensor units with direct-fit OEM hardware.
Verification and How to Fix a Check Engine Light Permanently
Bolting on a replacement part represents only half the job. You must force the vehicle computer to verify that operating parameters have returned to factory specifications.
Drive cycle completion and monitor readiness
Clearing a fault doesn't equate to a solved problem. Modern vehicle computers run specific monitor routines for oxygen heaters, catalysts, and evaporative valves. Drive the car through a complete cycle: cold start, 10 minutes of city driving at varying throttle positions, and 15 minutes of steady cruising at 90 km/h with a steady foot. Confirm via your scanner that all readiness monitors display 'Ready' status.
How to clear engine fault codes properly
Use your diagnostic tool command to clear engine fault codes only after finishing the physical repair. Disconnecting the 12V battery terminal is bad practice. Doing so wipes adaptive fuel trims, transmission shift tables, and anti-theft radio presets without confirming system health. Erase memory registers strictly through the diagnostic port.
Field Verdict on Check Engine Diagnostics
Useful troubleshooting comes down to discipline and data. Resisting the urge to throw parts at an unknown problem saves both shop budgets and customer sanity. If you want to know how to fix a check engine light reliably, verify circuit continuity, monitor fuel trims in real-time, and confirm complete drive cycles before putting the vehicle back in service. Grab your diagnostic scanner, read the pending live data, and begin your systematic inspection today.