
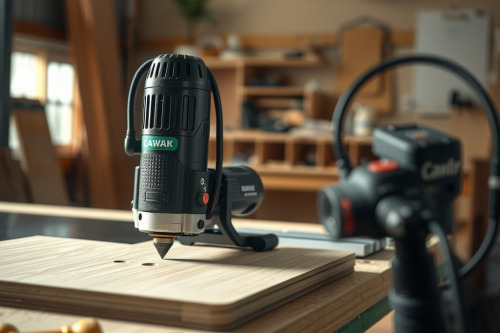
Relying on hand pressure alone against a spinning cutter is a straight path to the emergency room. Over 20 years running production millwork, I learned that building a safety featherboard is the fastest way to save your fingers and stabilize stock. A wandering workpiece invites violent kickback, ruins expensive lumber, and destroys cut precision. Clamp an useful shop-made guide to your fence before touching the power switch.
Material selection for building a safety featherboard
Never build featherboards out of cheap, brittle scrap. Soft framing pine splits along the annual rings under moderate feed pressure, snapping fingers off mid-pass. You need dense, straight-grained stock with high elasticity. Kiln-dried hard maple, straight ash, or quartersawn white oak provide the flex and spring-back recovery required for repeated shop abuse.
Orient the grain direction parallel to the length of the fingers. Cross-grain pressure breaks fingers instantly under lateral load. Thickness the blank down to 19mm for standard table work, or 12mm if you run light trim on a benchtop wood router. Inspect the piece for knots, internal checks, or sap pockets before cutting.
Sizing, blade angles, and kerf layout specs
Dimension your blank to 100mm wide by 250mm long. Cut a 30-degree to 45-degree angle across the leading edge on your miter saw. A 30-degree angle provides gentle, progressive resistance across wider stock variations, while a 45-degree bevel creates stiffer, unyielding resistance on stubborn hardwood.
Cutting the flex fingers
Mark your finger depth at 75mm from the angled edge. Set your table saw fence to rip 3mm wide fingers using a standard 3mm kerf blade. Push the blank into the blade up to your stop line, pull back cleanly, shift the fence 6mm, and repeat. Uniform finger width ensures balanced holding force across the timber face. Uneven fingers bend erratically, concentrating force on a single pressure point.
Routing adjustment slots
Rout twin 8mm adjustment slots through the body of the jig using a plunge bit. Space these slots 100mm apart to align with standard fence t-tracks. Countersink the underside if you run hex bolts to avoid marring anodized fences. Smooth slots allow quick sliding without binding during fence resets.
Dialing in router table fence alignment and feed tension
Improper featherboard placement creates serious feed hazards. Never position the fingers directly across from the router bit. Squeezing timber directly into the cutter pinch-point creates severe bit chatter, binds the motor, and kicks the board back at your torso. Mount the featherboard 25mm to 50mm before the cutter to register stock tight against the fence before the cut begins.
Set the tension by sliding the board against your raw timber. Push the featherboard until the fingers deflect roughly 3mm to 5mm against the feed face. Tighten your star knobs down hard. Feed the board forward by hand without power; timber should slide forward under firm pressure but lock firmly if pulled backwards.
Avoiding dust collection choke and burning the stock
Heavy wood removal produces high chip volume that packs around hold-down jigs. When fine dust packs between individual fingers, the mechanism turns rigid. That loss of flex increases friction drastically. You stall mid-cut, burning the stock with intense thermal friction while your cutter edges scorch.
Rout a 6mm deep by 12mm wide relief channel on the underside of the featherboard base. This clearance allows high-velocity vacuum draw to pull chips clear into the fence port, preventing a dangerous dust collection choke. Smooth airflow keeps cutter edges cool and prevents sawdust compaction against your reference surfaces.
Building a safety featherboard to eliminate common routing defects
Stock chatter ruins profiles. When passing timber along the fence, hand pressure flinches naturally as hands step across the cutter zone. That split-second release drops your profile depth and leaves ugly scallops across the profile.
Suppressing chatter and tear-out
Continuous downward and lateral feather pressure maintains continuous registration against the fence and table bed. This mechanical dampening stops grain lifting and prevents catastrophic tear-out on tricky end-grain profiles. In every rigorous wood router review conducted on job sites, edge quality depends more on stock feed stability than horsepower. Even the best wood router will chew up edges if your stock bounces off the fence line.
Eliminating bit deflection and collet slip
Vibrating stock sends harmonic shocks straight into the cutter arbor. Over sustained production runs, that violent cycling causes micro-movement within the chuck, ending in collet slip where the bit creeps downward unnoticed. A secure featherboard stabilizes the workpiece, dampens harmonic vibration, and protects precision setup depths.
Safe deployment and shop verification
Take 15 minutes for building a safety featherboard before starting your next heavy shaping run. Inspect existing featherboards weekly for cracked tines, rounded finger tips, or stripped mounting knobs. Replace worn jigs immediately. Position your featherboard carefully, lock down your fence track bolts, and run a test scrap to confirm smooth, chatter-free feeding.