
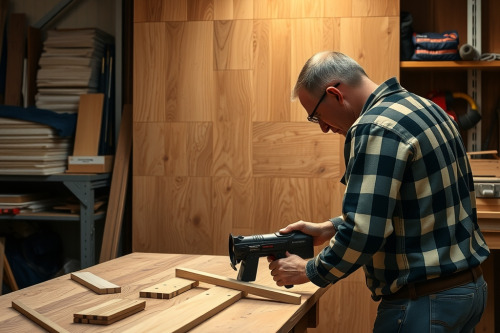
After 20 years in custom millwork, I have seen too many heavy tool racks crash to the concrete floor because of sloppy mounting prep. Building a bulletproof French cleat wall system demands dead-accurate joinery, rigid stock support, and zero deflection on your cuts. You cannot tolerate cutter drift or blown-out edges when running long runs of angled cleats.
Milling stock for a French cleat wall system
Solid stock preparation is the foundation of any shop wall organization build. We always reach for 19mm Baltic birch or void-free domestic maple rather than standard construction lumber. Cheap pine cups, twists, and ruins your cleat alignment overnight.
Rip your panel blanks down to 120mm widths on the table saw first. Keep your feed consistent to avoid edge deviations. Running a dedicated French cleat wall system requires dead-flat reference faces. If your material bows even 1mm over an 800mm span, the mating cleat will rock under load.
Choosing the best wood router setup for clean bevels
Don't try to freehand cleat bevels with a lightweight laminate trimmer. Any practical wood router review will tell you that stability trumps convenience for long edge profiling. You need a 2.25hp plunge base or a stout fixed-base machine dropped into a heavy router table.
Power delivery and motor selection
The best wood router for heavy cleat milling features electronic speed control and soft start. When I hog off material on 19mm sheet goods, a 0.5-inch shank bit is non-negotiable. Using 0.25-inch shanks invites severe bit chatter and eventual snapping under load.
Guiding the cut safely
Clamp a sacrificial sub-fence directly over your router table opening to establish zero-clearance support. Always secure a rigid featherboard against the stock face to lock downward pressure. This mechanical hold stops the workpiece from lifting off the cutter and keeps profile depth strictly uniform from end to end.
Feed rates to eliminate burning the stock and bit chatter
Router feed speed dictates surface quality. Move the stock too slowly, and you end up burning the stock and dulling expensive carbide edges. Push too fast, and violent vibration destroys your clean 45-degree cleat bevels.
Managing pass depth and tear-out
Never take the entire 45-degree profile in 1 single heavy pass. Split the stock removal across 2 distinct operations to reduce motor strain. Set your first cut at 60% profile depth, then finish with a light 0.8mm skim cut.
This two-step sequence wipes out grain tear-out on delicate veneer layers. Take decisive, continuous pushes through the cutter. Hesitation leaves burn rings that compromise glue adhesion on cleat mounting brackets.
Dust handling and collet maintenance
Keep your extractor running at full suction. Massive chips generated by 45-degree chamfer bits cause an instant dust collection choke if your port diameter is under 63mm. Clear the extraction shroud regularly.
Wipe your collet taper clean before every shift. Sawdust buildup inside the split sleeve produces collet slip, dropping your cutter height mid-pass and ruining your cleat alignment.
Custom French cleat wall system tool holders and brackets
Once you anchor the horizontal wall rails, fabrication shifts to custom tool storage accessories. Every hammer rack, drill dock, and hand plane cradle needs an opposing 45-degree cleat glued and screwed to its back panel.
Routing dadoes for hanging heavy tool racks
Don't rely solely on mechanical fasteners to hold tool brackets to your cleat hangers. Trench a 6mm deep housing dado across the back of each accessory bracket using a straight carbide wood router bit. Slide the mating cleat directly into that slot.
Apply PVA glue along the joint, pre-drill 3 pilot holes, and drive 38mm structural screws home. This recessed pocket transfers sheer stress into the wood grain rather than the screw threads.
Wall layout and structural anchoring on the job site
Even the cleanest cleats fail if anchored into bare drywall. Mark out your wall framing using a dependable magnetic stud finder. Strike level reference lines using a 1200mm box beam level across every stud centerline.
Sink 75mm cabinet screws through the cleats directly into the centers of 38x89mm wall studs on 400mm centers. Never skip a stud. Hang your lowest rail 900mm from the floor to clear rolling tool chests and assembly benches.
Final inspection rules for your French cleat wall system
Walk the completed wall with an inspection cleat before hanging heavy equipment. Slide a 300mm test bracket along every linear foot of rail. If you feel snagging, hit the high spot with a 150-grit sanding block. Check screw heads with a manual driver to guarantee every fastener is flush with the cleat face. Inspect your rack mounts, load up your primary gear, and put your shop back to work.