
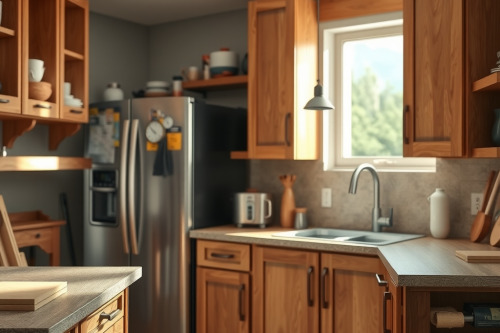
Milling high-grade custom kitchen cabinet doors exposes every weakness in your tooling and joinery tolerances. Over 25 years on the shop floor, I have seen warped rails, ruined panel reveals, and wrecked profiles caused by rushed setups. Running large diameter cutters demands absolute rigidity, precise cutter geometry, and clean feeds. Master these mechanical fundamentals to turn raw hardwood into heirloom-grade door assemblies every single shift.
Sizing and Lumber Selection for Custom Kitchen Cabinet Doors
Flat doors begin at the rough planer. You cannot force bowed stock into a true coped joint. Select quartersawn or rift-sawn hardwoods stabilized between 6% and 8% moisture content to prevent seasonal twist. Let rough lumber acclimate in the shop for at least 72 hours before jointing face surfaces.
Grain Orientation and Stile Straightness
Grain direction dictates door stability over decades. Always run crown grain toward the interior edge on outer stiles. Rip your stile stock roughly 3mm oversize, allow internal stresses to release overnight, and then face joint to final 19mm dimension. If a rail bows during dimensioning, scrap it immediately.
Selecting the best wood router for Heavy Panel Raising
Spinning a 75mm horizontal panel-raising bit through hard maple tests any machine to its absolute limit. Finding the best wood router means ignoring marketing hype and prioritizing raw torque under sustained shop loads. You need a dedicated 3.25-horsepower fixed-base unit mounted under a cast-iron router table setup to dampen mechanical resonance.
Horsepower and Speed Management
Electronic variable speed maintains consistent cutter revolutions. Large panel cutters must run between 10000 RPM and 12000 RPM to stay well within structural safety margins. In my independent wood router review evaluations, mid-sized 1.75-horsepower units bog down immediately, causing severe thermal friction and burning the stock. A heavy-duty wood router paired with a rigid 12.7mm steel collet guarantees zero runout during continuous production runs.
Eliminating Bit Chatter and Tear-Out on Cope Cuts
Cross-grain copes tear out without proper mechanical backing. The cutter exits the rail shoulder with brutal force. Secure your work with a dedicated sled clamped perpendicular to the fence. Back the cut using a dedicated sacrificial offcut to capture stray fibers as teeth exit the profile.
Fence Alignment and Feed Mechanics
Set cutter height off a test scrap before touching primary stock. Lock down the fence so the bearing aligns flush with the cutter guide collar within 0.05mm tolerance. Feed the stock smoothly at roughly 3 meters per minute. Hesitation creates burning, while an inconsistent feed pace leads directly to severe bit chatter across the end grain.
Milling Raised Panel Details Without Profile Burning
Never hog out an entire raised cove or bevel in one aggressive pass. Forcing full profile depth in a single run invites dangerous collet slip and damages expensive cutters. Take three sequential passes, adjusting the router table fence outward by 3mm per pass while maintaining full vertical cutter height.
Profile Depth Consistency and Backcutting
The final pass should remove no more than 0.5mm of material. This light shaving eliminates tool marks and leaves a burnished surface that requires minimal hand scraping. Secure your panels against the fence using a heavy-duty featherboard to prevent chatter and maintain uniform profile depth across all four edges. If you run a backcutter panel bit, clear your dust port regularly to prevent internal chips from creating a complete dust collection choke.
Assembly and Field Inspection for Custom Kitchen Cabinet Doors
Dry-fit every assembly before opening a single bottle of glue. Check diagonals with a steel rule; variance beyond 0.5mm creates racking that binds in the door opening. Stile and rail joinery requires structural glue on the tenon cheeks only. Never put glue in the panel groove, or seasonal cross-grain expansion will crack the frame within months.
Insert rubber space balls into the panel grooves to center the floating field and absorb humidity shifts. Clamp the outer frame with parallel-jaw bar clamps applying roughly 2 bar of pressure across the rail centers. Check flat alignment against winding sticks across the face before the adhesive cures. Once cured, inspect the reveals under raking light, scrape excess squeeze-out flush, and verify that your custom kitchen cabinet doors swing true without bind or twist.