
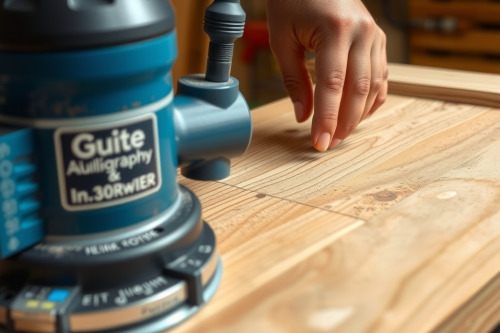
I have spent 25 years milling custom face frames and door panels on live job sites. Careless texturing cabinet doors ruins expensive white oak rails before the finish crew even unpacks their spray guns. When you swing a hand-held motor across raw stock without dialled-in passes, you tear grain instantly. Texturing cabinet doors demands rigid tool control, correct cutters, and disciplined feed rates to prevent complete workpiece rejection.

Fundamental router setups for texturing cabinet doors
Ditching the pristine factory face requires deliberate mechanical gouging. You don't just bash pine with a rusty chain and expect high-end results. A dependable wood router gives you repeatable depth accuracy down to 0.5mm across an entire 20-piece kitchen door package. Lock your plunge base securely before the cutter meets timber. Loose locking levers induce uneven plunge chatter across long rail profiles.
Spindle speeds and base stability
Run your motor between 16,000 RPM and 20,000 RPM for gouging work. High peripheral speeds ensure clean shearing action without yanking the baseplate out of alignment. Keep both hands locked on the rubberized handles at all times. A broad 150mm sub-base provides the footprint needed to balance over narrow 60mm stiles without rocking.
Tool selection and bit geometry to prevent burning the stock
Choosing the best wood router for texturing comes down to motor torque under heavy lateral loads. A compact 1.25 HP palm unit handles light surface distressing easily. For deep grain relief and aggressive hogging, step up to a 2.25 HP mid-size machine. Every honest wood router review confirms that motor bog-down ruins edge profiles instantly. Underpowered motors cause feed hesitation, heating the resin and burning the stock within 2 seconds.
Carbide profiles for distressed styling
Core box bits and round-nose profiles create convincing adze marks and scoop textures. Solid wire brush wheels clean up the fibers after cutting. Avoid cheap high-speed steel cutters that dull after 3 passes through knotty alder. Stick to thick carbide cutters ground with steep rake angles to slice through earlywood without blowing out the latewood rings.
Practical steps for texturing cabinet doors on the bench
Secure the work flat on a non-slip router mat. Clamp sacrificial stops at both ends of each stile to eliminate blowout. Set your initial profile depth to no more than 1.5mm on the first pass. Light cuts prevent tear-out along vulnerable quarterly transitions where grain reverses abruptly.
Varying your tool paths
Sweep the base across the workpiece in sweeping, irregular arcs. Follow the natural grain direction whenever possible to avoid splitting the timber fibers. Maintain a brisk 3-meter-per-minute feed rate to dissipate cutter heat. If you hesitate on the cut, friction darkens the wood grain permanently. Overlap your passes by roughly 30% to build subtle, layered surface undulations.
Managing bit chatter, collet slip, and dust collection choke
Excessive overhang creates severe bit chatter that leaves corrugated ripples across the panel. Insert the bit shank at least 20mm into the collet bore. Never bottom out the bit against the armature shaft before tightening. That bad habit causes collet slip under side-load, throwing your profile depth out by up to 3mm during mid-pass.
Extracting high-volume wood shavings
Texturing generates thick, fluffy shavings rather than fine powdery dust. Standard 32mm extraction hoses cause immediate dust collection choke at the intake shroud. Swap to a 50mm anti-static vacuum hose hooked to a cyclonic separator. Clear airways keep cutter temps down and maintain clear sightlines on the layout lines.
Field checks and final panel preparation
Wipe the panel clean using mineral spirits to reveal any hidden tool marks or rough patches. Scrape high ridges with a card scraper set at an 80-degree angle. This knocks off machine sheen while retaining the hand-hewn appearance. Sand strictly by hand using 120-grit abrasive blocks to ease sharp gouge edges without washing out the router texture.
Mastering texturing cabinet doors on your next job
Consistent results require strict tool maintenance, accurate setup, and reliable cutter geometry. Before texturing cabinet doors for a client, mill 3 scrap panels to verify bit depth and feed rates under real bench conditions. Inspect your collet cone for micro-galling before each run. Tighten down your setups, test your extraction draw, and build samples that prove your shop can deliver authentic character without scrap waste.