
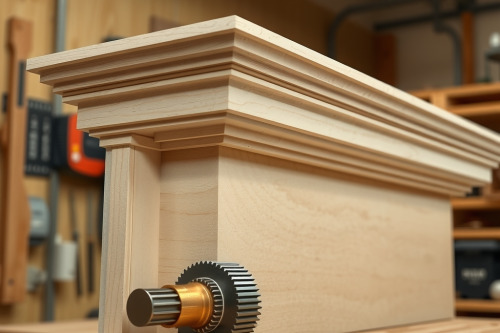
Stock architectural trim from big-box stores looks flat, generic, and overpriced for the shoddy pine you get. I've spent 25 years running hardwood profiles on job sites, and routing custom crown molding is the only way to get crisp reveals on high-end cabinetry. Running massive horizontal cutters requires serious horsepower and zero tolerance for sloppy setups. Respect the iron, dial in your feed technique, and you can mill museum-grade architectural profiles on your own bench.

Choosing the Best Wood Router for Heavy Trim Cutters
Don't attempt to push a 70mm crown cutter with an underpowered trim laminate tool. You need a dedicated 3.25 HP fixed-base machine dropped into a dead-flat cast iron table. Any wood router review covering heavy millwork will stress variable speed control as non-negotiable. Large specialty bits generate immense rim speed; spinning a multi-profile cutter at 22,000 RPM guarantees burning the stock and ruining your investment. Dial your machine down to 10,000 or 12,000 RPM before the carbide touches timber.
Motor Power and Rigidity Specs
Mass dampens harmonic vibration. A heavy 15-amp motor seated in a steel lifting mechanism prevents bit chatter when hogs take deep bites out of 100mm wide stock. Check the table insert rings for zero flex. When routing custom crown molding, even 0.5mm of motor sag yields mismatched joint lines at your inside miters.
Tooling Basics: Specialty Bit Profiles and Shank Diameter
Always buy 1/2-inch shank cutters for large molding profiles. Never compromise here. Thin 1/4-inch shanks flex under lateral load, leading to lethal fatigue breaks or catastrophic collet slip mid-pass. Clean your chuck taper with mineral spirits before tightening, securing the shaft at least 22mm deep into the cone.
Crown bits cut massive amounts of wood across wide arcs. Back-relief bevels on carbide teeth clear waste rapidly to prevent heat buildup. Match the cutter geometry to your ceiling pitch: typical profiles sit at standard 38-degree or 45-degree spring angles. Buy carbide-tipped bits with thick bodies that absorb thermal spikes during continuous 3-meter runs.
Safe Setup and Workpiece Stabilization
Freehanding molding on a handheld wood router is an invitation to the emergency room. Pin your stock against the fence with dedicated downward and lateral hold-downs. I always mount a wooden or magnetic featherboard directly before and after the bit throat to guarantee consistent contact across the table deck.
Tall fences are mandatory. Standard 75mm stock fences can't support 150mm blanks standing on edge. Bolt an auxiliary fence face made from 18mm Baltic birch plywood, wax it thoroughly, and set your zero-clearance opening precisely around the bit perimeter to stop chips from jamming.
Executing the Cut: Multi-Pass Depth Strategy
Hogging out an entire profile in one pass will destroy your workpiece. It causes instant tear-out on figured maple and tears fragile grain sections completely out of red oak. Divide your total profile depth into at least 3 distinct passes. Keep the first two cuts heavy to hog bulk waste, then leave an ultra-thin 0.8mm skin for the final pass.
Feed the stock from right to left against cutter rotation at an even, assertive pace. Lingering creates friction burns instantly. Moving too fast produces rippled washboard surfaces that demand hours of scraping. Listen to the pitch of the motor: a sustained, steady growl indicates optimal chip clearance and balanced cutting pressure.
Dust Management and Workshop Maintenance
Large trim bits produce immense mountains of chips every 30 seconds. A tiny shop vacuum hose will plug immediately, creating a severe dust collection choke right around the bit well. That trapped sawdust forces the spinning cutter to recut its own debris, causing rapid dulling and dangerous work overheating.
Plumb a true 100mm extraction hose directly to the fence port, backed by an auxiliary collector box underneath the table. Empty the bin once it reaches 75% capacity to maintain full CFM suction. Keep compressed air handy to blow fine sawdust off fence tracks between runs.
Job-Site Inspection and Quality Verification
Milling custom profiles demands cold mechanical discipline over guesswork. Inspect your finished runs under raking light to spot surface ripples before applying any stain or primer. Pick up your calipers, square up your stock, and set your fence true to start milling your own flawless crown runs today.